
Travel Journal Louise Carmen-Style Dupe DIY
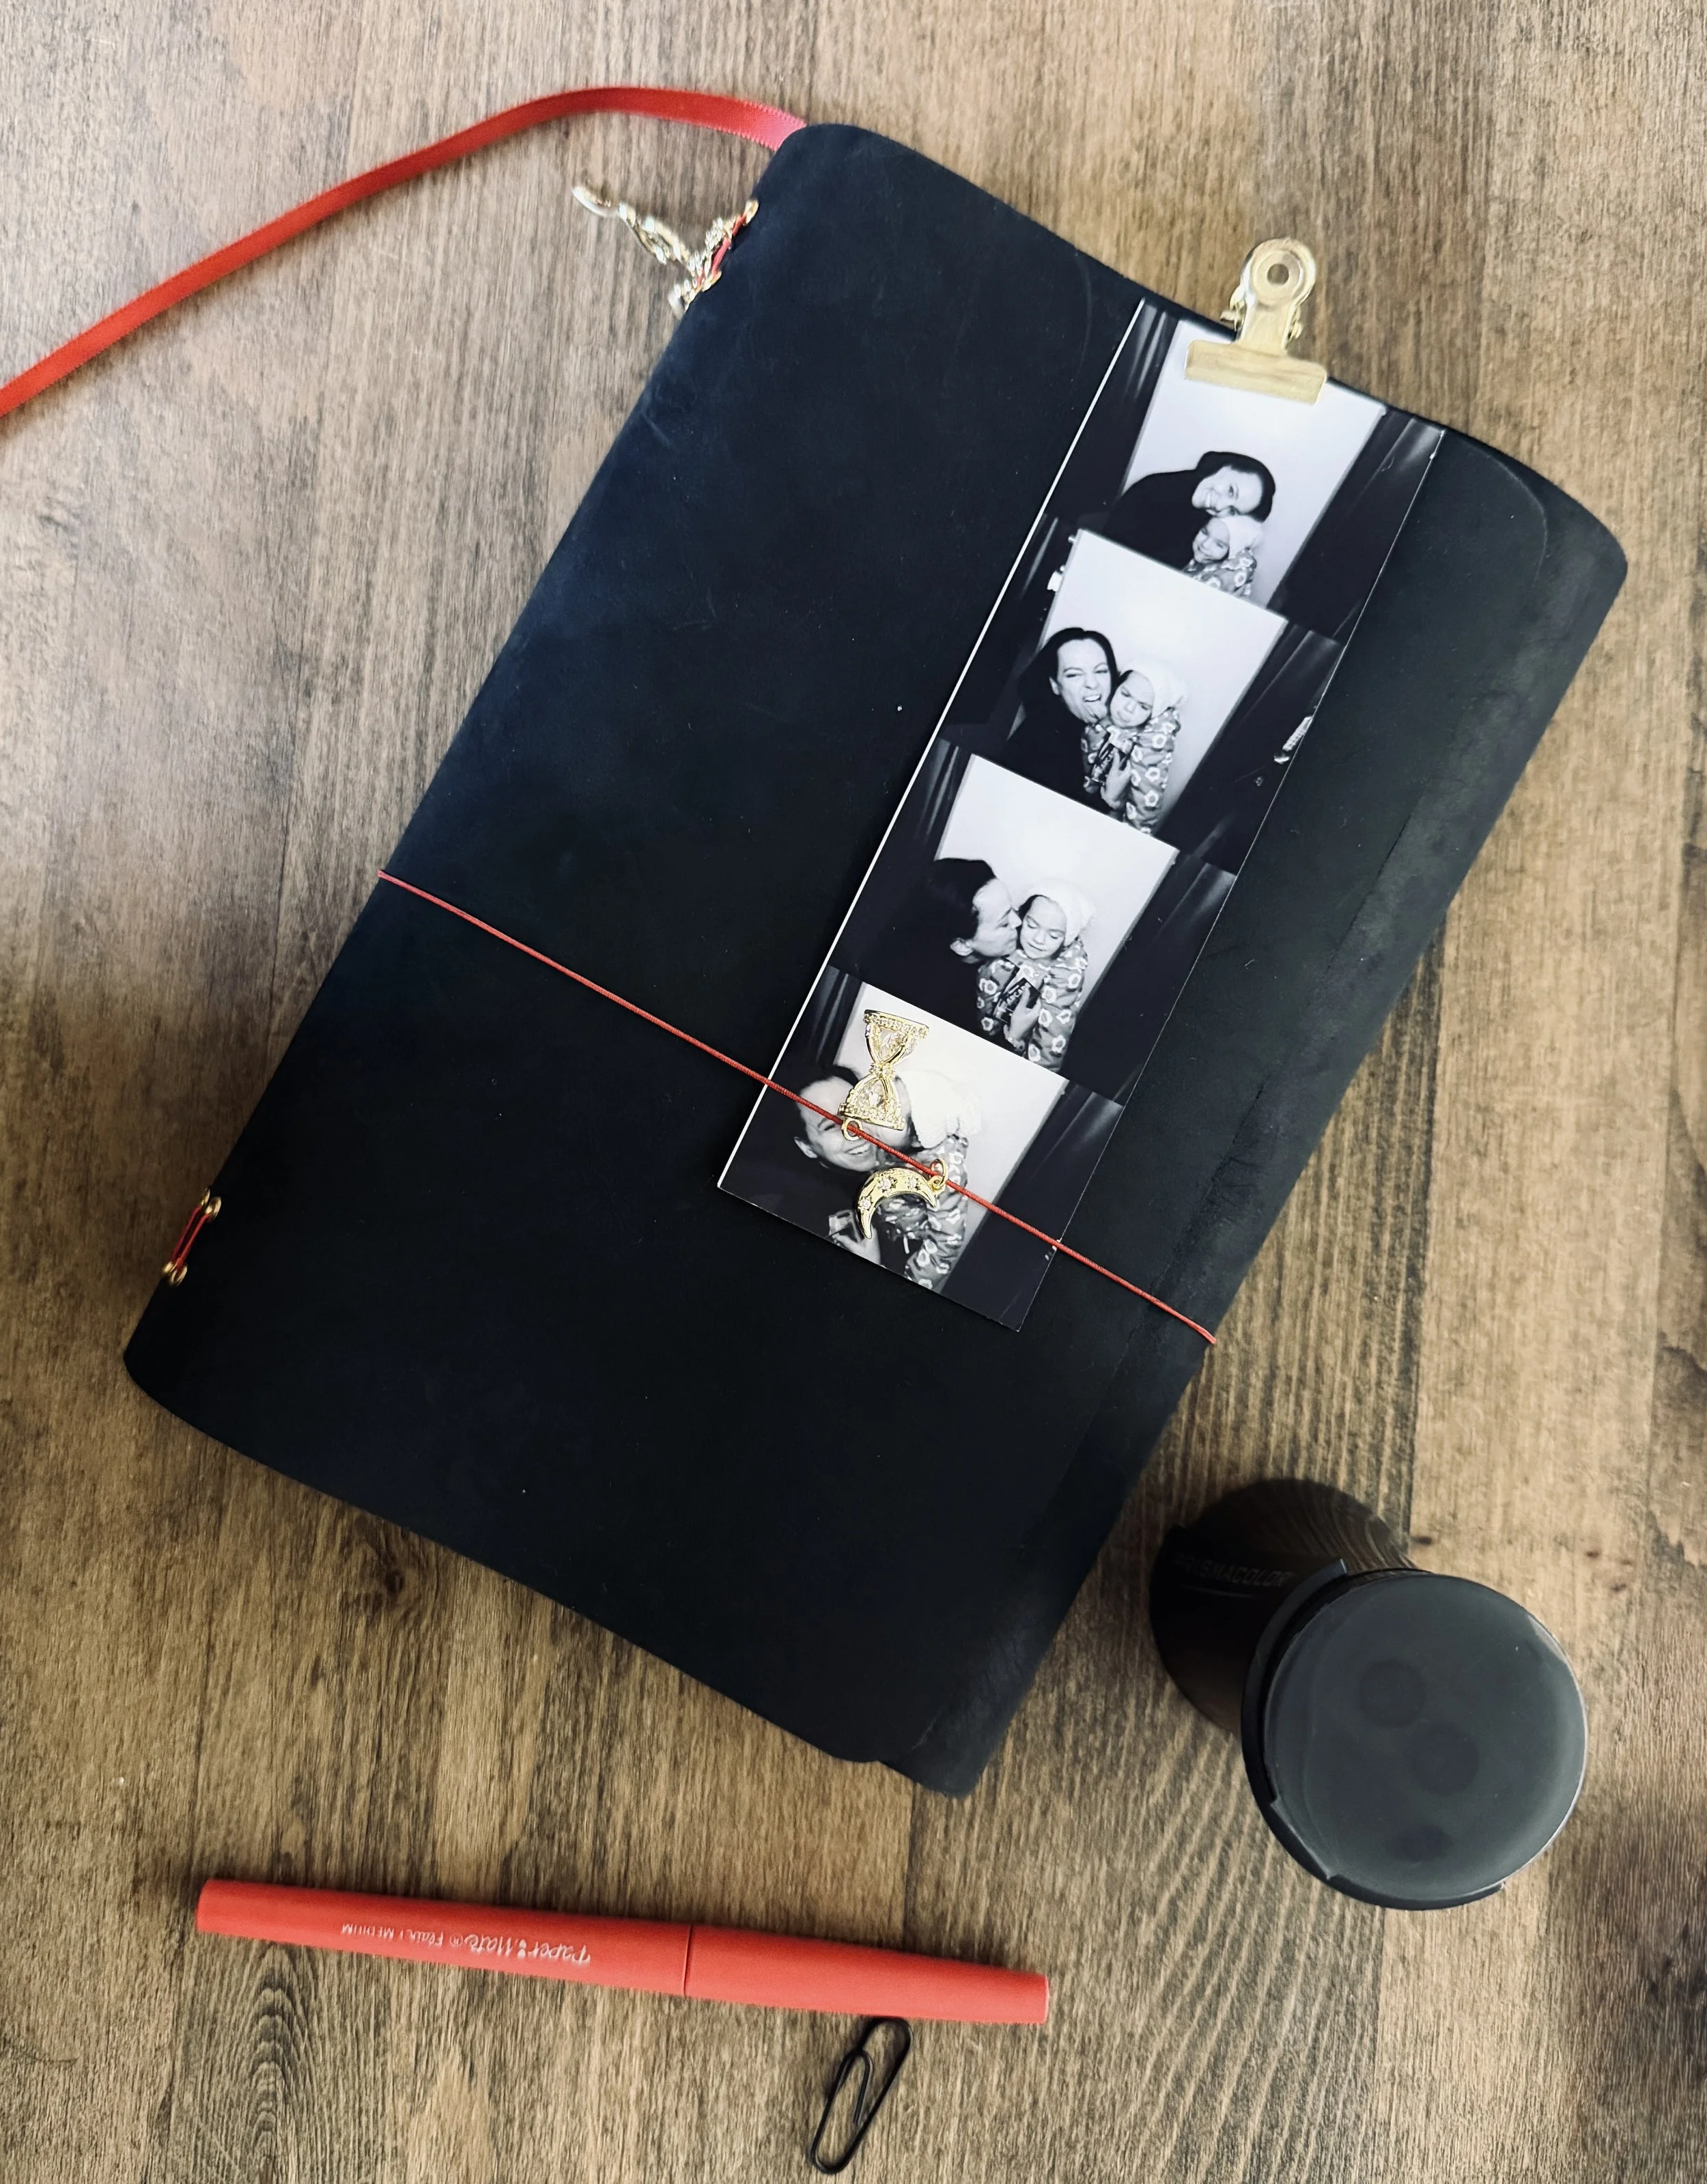
I am writing this post so that my book club can make these refillable journals with me, a recent hyper-fixation project of mine. Because, oh man, they are so cute. I keep a journal in my purse for note-taking, writing practice, and lists. My new journal eco-system also has a brain-dump notebook and a monthly planner.
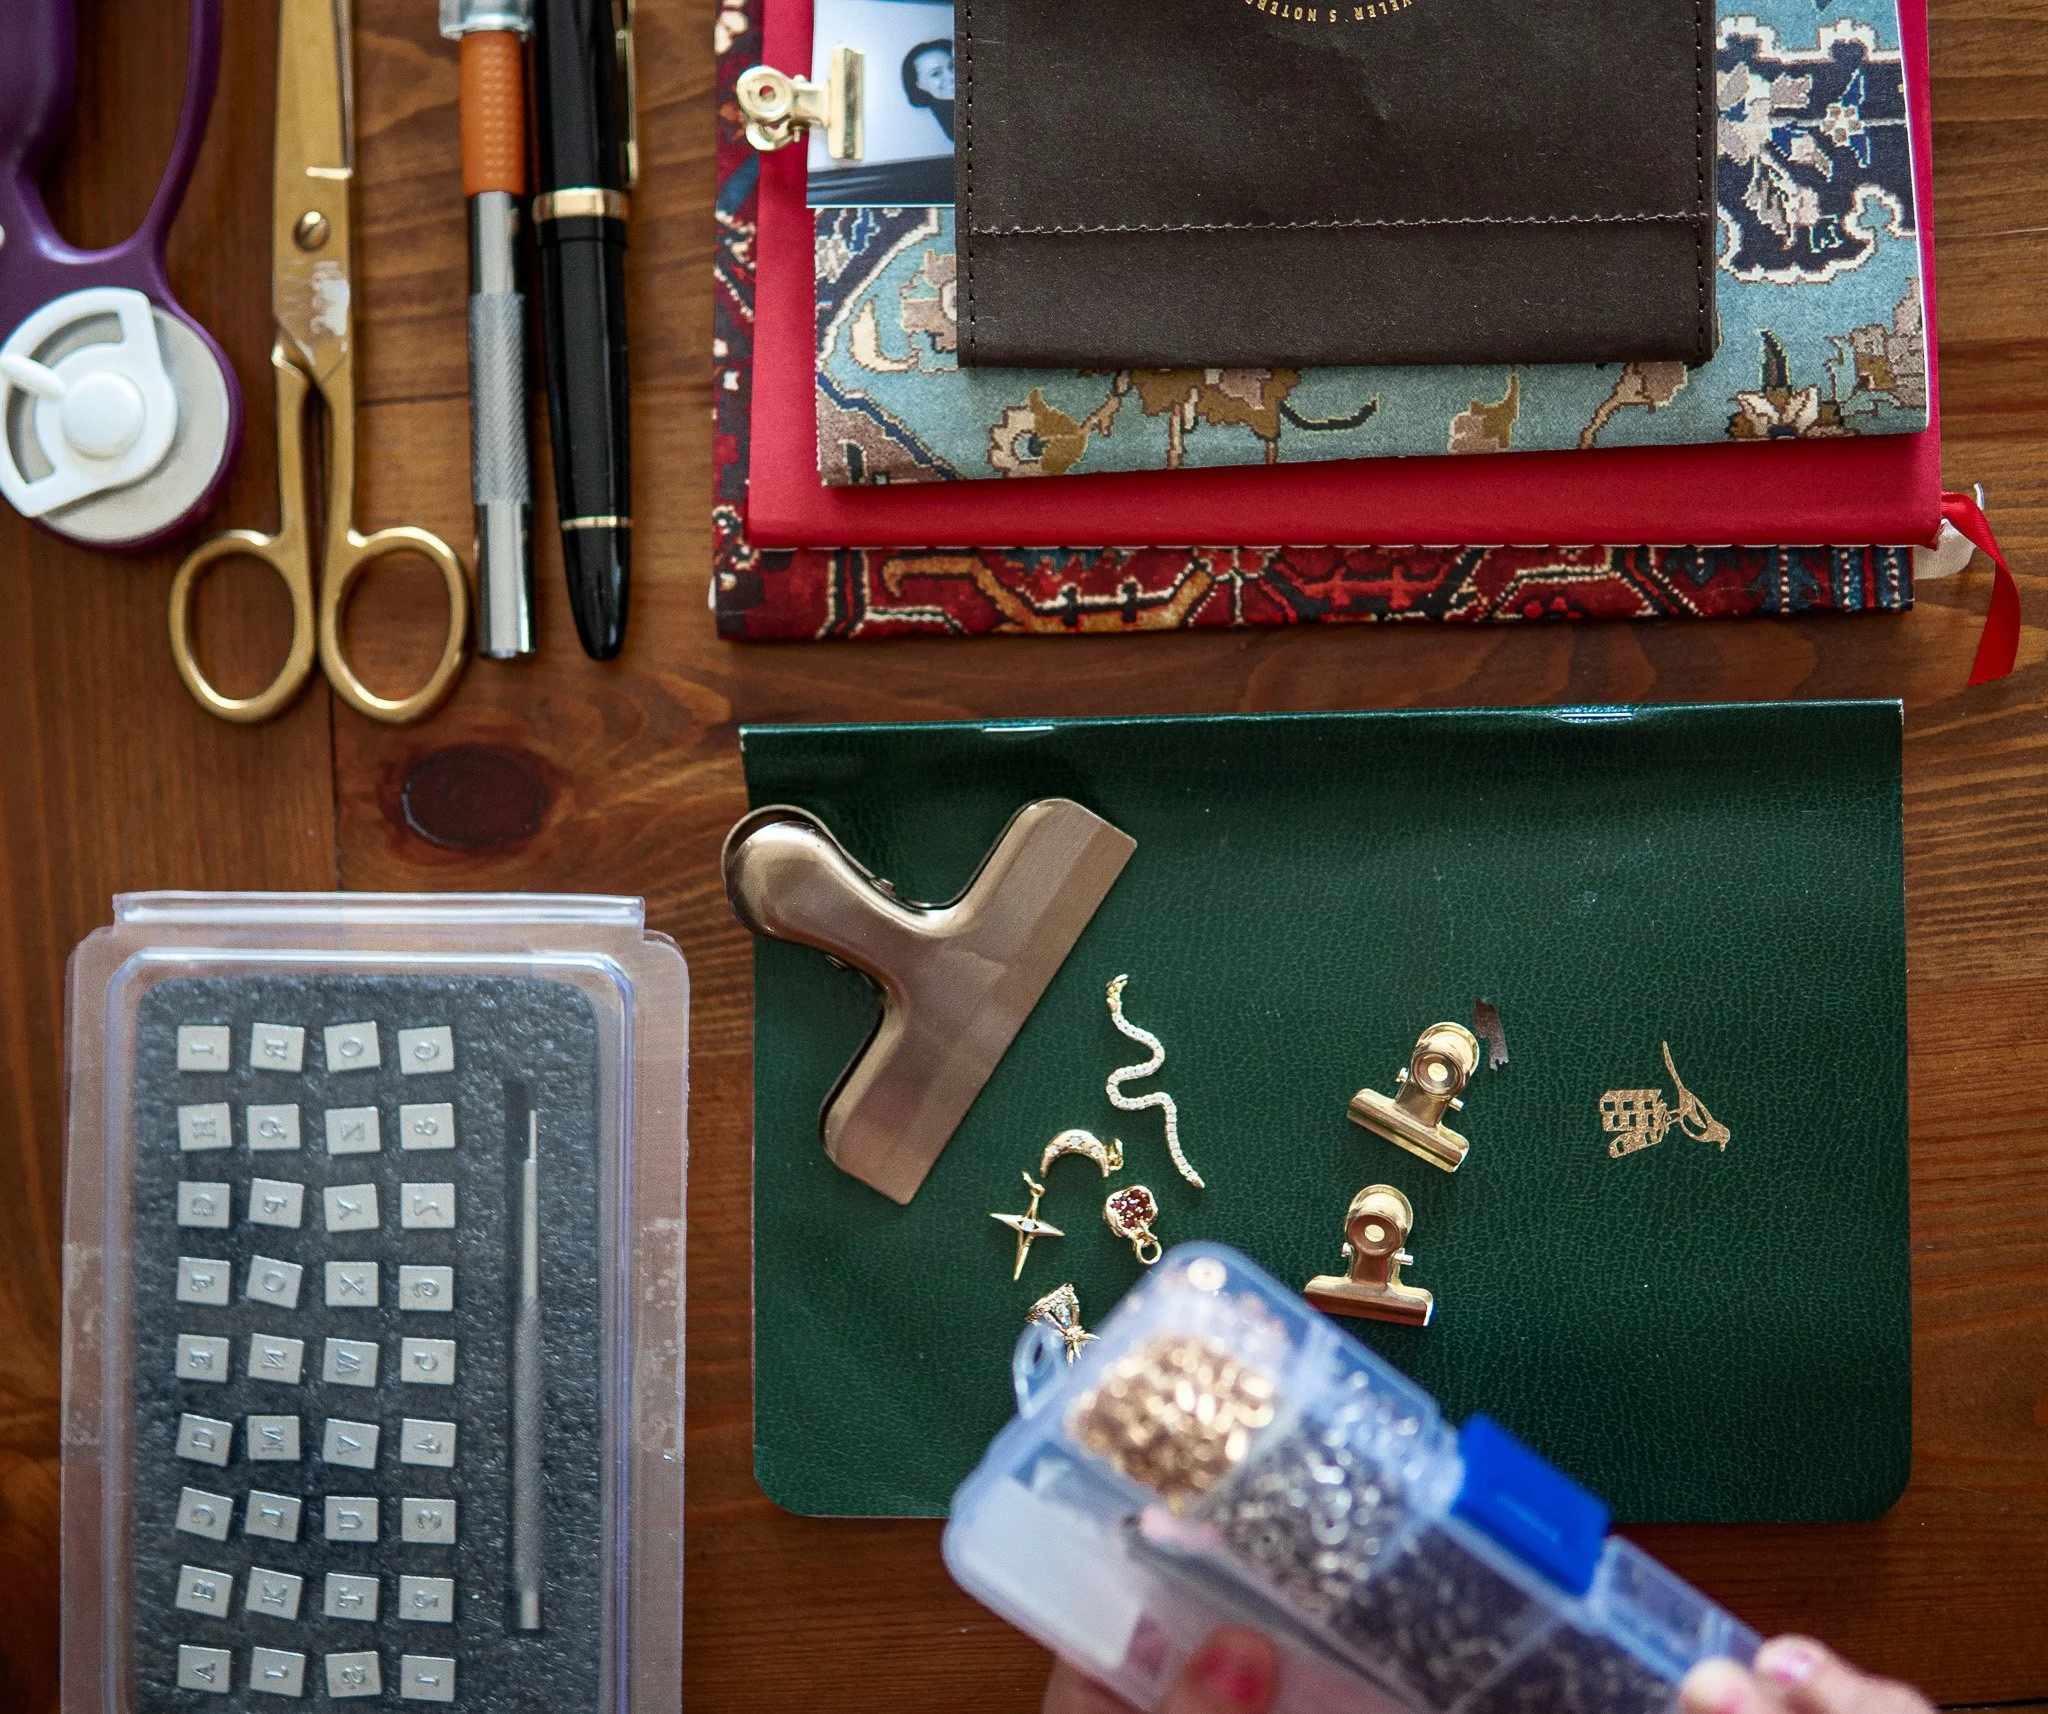
Supplies I used:
Charms are from LisaFindings on Etsy - Use the code THANKYOU for 10% off
Black Craft Leather 12 x 24 inch sheet - I look for 1.8-2mm thick, vegetable tanned leather
1mm Elastic String to hold in the notebooks. I eventually bought this full set of colors.
2mm grommets and installation tool
A5 notebook refills - I liked these ones from Simply Genius the best.
I also used a monthly planner in mine. To make it fit the aesthetic, I covered it in a House of Hackney wallpaper sample.
I used a rotary cutter, long ruler, and a large cutting mat to cut, but you can also draw the template out and use good scissors.
I use a rubber mallet to hammer. You can probably lightly use a hammer if that’s all you have.
A template - It’s 15.5 inches long and 8.75 inches tall for my A5 template (I hand-made mine, so I will need to measure it all to give exact measurements for placement)
Extras: Travel journals have all sorts of accessories to add on. You can find my list here.
I made a Pinterest Board of Louise Carmen inspired travel journals for color and styling ideas that you can find here.
And now onto the steps!
Unroll your leather and let it relax to a flat shape. I usually do this overnight, and it just helps it from curling on you while working.
I then cut the length of the journal - 15.5 inches. And the width - 8.75. I am left with a leather rectangle.
I clip on my template using binder clips to my leather rectangle to keep it secured. Then, using the hole-tool and the rubber mallet, I hammer all 12 holes for the elastic cording for the journals and the two holes for the back elastic strap.
On my cutting mat, I set up on a solid table surface safe for hammering. If you don’t have a cutting mat, try a kitchen cutting board with a towel underneath to absorb the impact. For each hole, you need to use the setting tool and the metal grommet in the color you chose. This is a difficult process to explain well in words. I recommend going to where you bought the grommet kit from and looking at the attached videos or photo steps to do this right. You need a grommet placed and set in all 14 holes you made.
For the elastic, you want to thread a strand through the spine holes in the following pattern from the inside/rough side of the leather: in the bottom, out the hole above, carry to the second-to-the-top hole and thread it in. If you are adding charms, this is the step to add it. Then thread it back inside the top grommet. Finally, tie it so that it buckles the leather slightly. If it is too loose, your notebooks will move around. If it is too tight, it won’t lie flat. Complete for the three columns of grommets. (Or two if you are making a smaller journal)
The back elastic is a similar process. Thread the elastic into the grommet hole from the inside of the leather and loop it back in. If you are adding charms here, these need to be on the outside cover loop. Then, you will need to knot the elastic to close the loop. To know how long to make it, I usually loosely tie it and try the length wrapped around the journal. If it’s too tight or too loose, I correct it before double knotting and cutting the elastic.
You did it! Now, just add in the notebooks and accessories where you want them. I wrap the elastic around the center of the notebook, usually indicated by a staple or threaded stitch.